Thorp Air Command - T18.net

Supporting Owners, Builders and Pilots of the Thorp T-18 and its variants.
It is currently Thu Apr 18, 2024 11:58 pm

All times are UTC - 6 hours [ DST ]


Post new topic Reply to topic  [ 8 posts ] 
Author Message
Fraser MacPhee
 Post subject: Tail Wheel Surgery
PostPosted: Sat Feb 19, 2011 7:42 pm 
Sr. Member
Sr. Member

Joined: Wed Oct 21, 2009 8:57 am
Posts: 722
Images: 19
Location: USA
I am performing tail surgery on 633PM. I stripped a rear nylock nut plate while switching tailwheel setups, and after removing the feathers, discovered some ishoos that required a more serious resolution. The flange coming bottom forward off the rear bulkhead was in bad shape - see photos below. I will post pics of the fix tomorrow. I know the plane was ground looped some years ago and I suspect that was the culprit in creating the fatigue cracks, tho perhaps not the sole reason. The fix involves a new Chromoly angle riveted to the bulkhead with the bottom spanning and rivited to the longerons, with a chromoly spacer between the angle and the skin (the thickness of the longerons, which I seem to forget at the moment)The bottom flange of the angle will pick up two rivets each side on the longerons and will also transfer load up through the vert stab spar, per the original design.

Image Insert:
Image


Image Insert:
Image


Image Insert:
Image


Image Insert:
Image


Image Insert:
Image


Image Insert:
Image


Image Insert:
Image


Kinda hard to see in the bottom one, but there are cracks behind each bolt hole.

_________________
Fraser MacPhee
N926WM
Serial #279-1
Angel Fire, NM (KAXX)


Last edited by Fraser MacPhee on Sat Feb 19, 2011 7:42 pm, edited 1 time in total.

Top
 Profile Personal album  
 
Fraser MacPhee
 Post subject: Tail Wheel Surgery
PostPosted: Sat Feb 19, 2011 8:32 pm 
Sr. Member
Sr. Member

Joined: Wed Oct 21, 2009 8:57 am
Posts: 722
Images: 19
Location: USA
Not shown in the photos above is the angle bracket/plate that was removed from the rear bulkhead, so some of you thing that was the only reinforcement - the angle bracket flange had cracked as well - once I spotted that, I knew I had ishoos, and upon further probing, that's when I found the bulkhead flange had turned turtle and surgery was schedooled.

_________________
Fraser MacPhee
N926WM
Serial #279-1
Angel Fire, NM (KAXX)


Last edited by admin on Sat Feb 19, 2011 8:32 pm, edited 1 time in total.

Top
 Profile Personal album  
 
fytrplt
 Post subject: Tail Wheel Surgery
PostPosted: Sat Feb 19, 2011 8:35 pm 
Hero Member
Hero Member
User avatar

Joined: Tue Oct 20, 2009 8:07 pm
Posts: 1140
Images: 2
Location: Lakeland, Florida, USA
Lovely! You are on the right track to fix the problem. My main concern is with the amount of protective gear the guy with the sander is wearing. The cracking is due to the side loads imposed by the old spring and Maule tailwheel. The newer Trusty setup gives less moment arm to impose load on this fitting. However, inspection of this area is a must on every condition inspection no matter what tail spring/tailwheel setup you are using.

_________________
Bob Highley
N711SH
SN 835
KLAL


Last edited by admin on Sat Feb 19, 2011 8:35 pm, edited 1 time in total.

Top
 Profile Personal album  
 
davem
 Post subject: Tail Wheel Surgery
PostPosted: Sun Feb 20, 2011 5:50 pm 
Jr. Member
Jr. Member
User avatar

Joined: Thu Oct 22, 2009 9:27 am
Posts: 56
Location: USA
Good time to install that electric trim you may have wanted.

_________________
Dave M
Sacramento
ex-T-18 owner


Last edited by admin on Sun Feb 20, 2011 5:50 pm, edited 1 time in total.

Top
 Profile  
 
Fraser MacPhee
 Post subject: Tail Wheel Surgery
PostPosted: Sun Feb 20, 2011 10:59 pm 
Sr. Member
Sr. Member

Joined: Wed Oct 21, 2009 8:57 am
Posts: 722
Images: 19
Location: USA
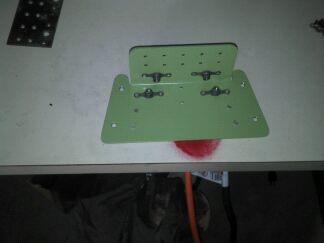
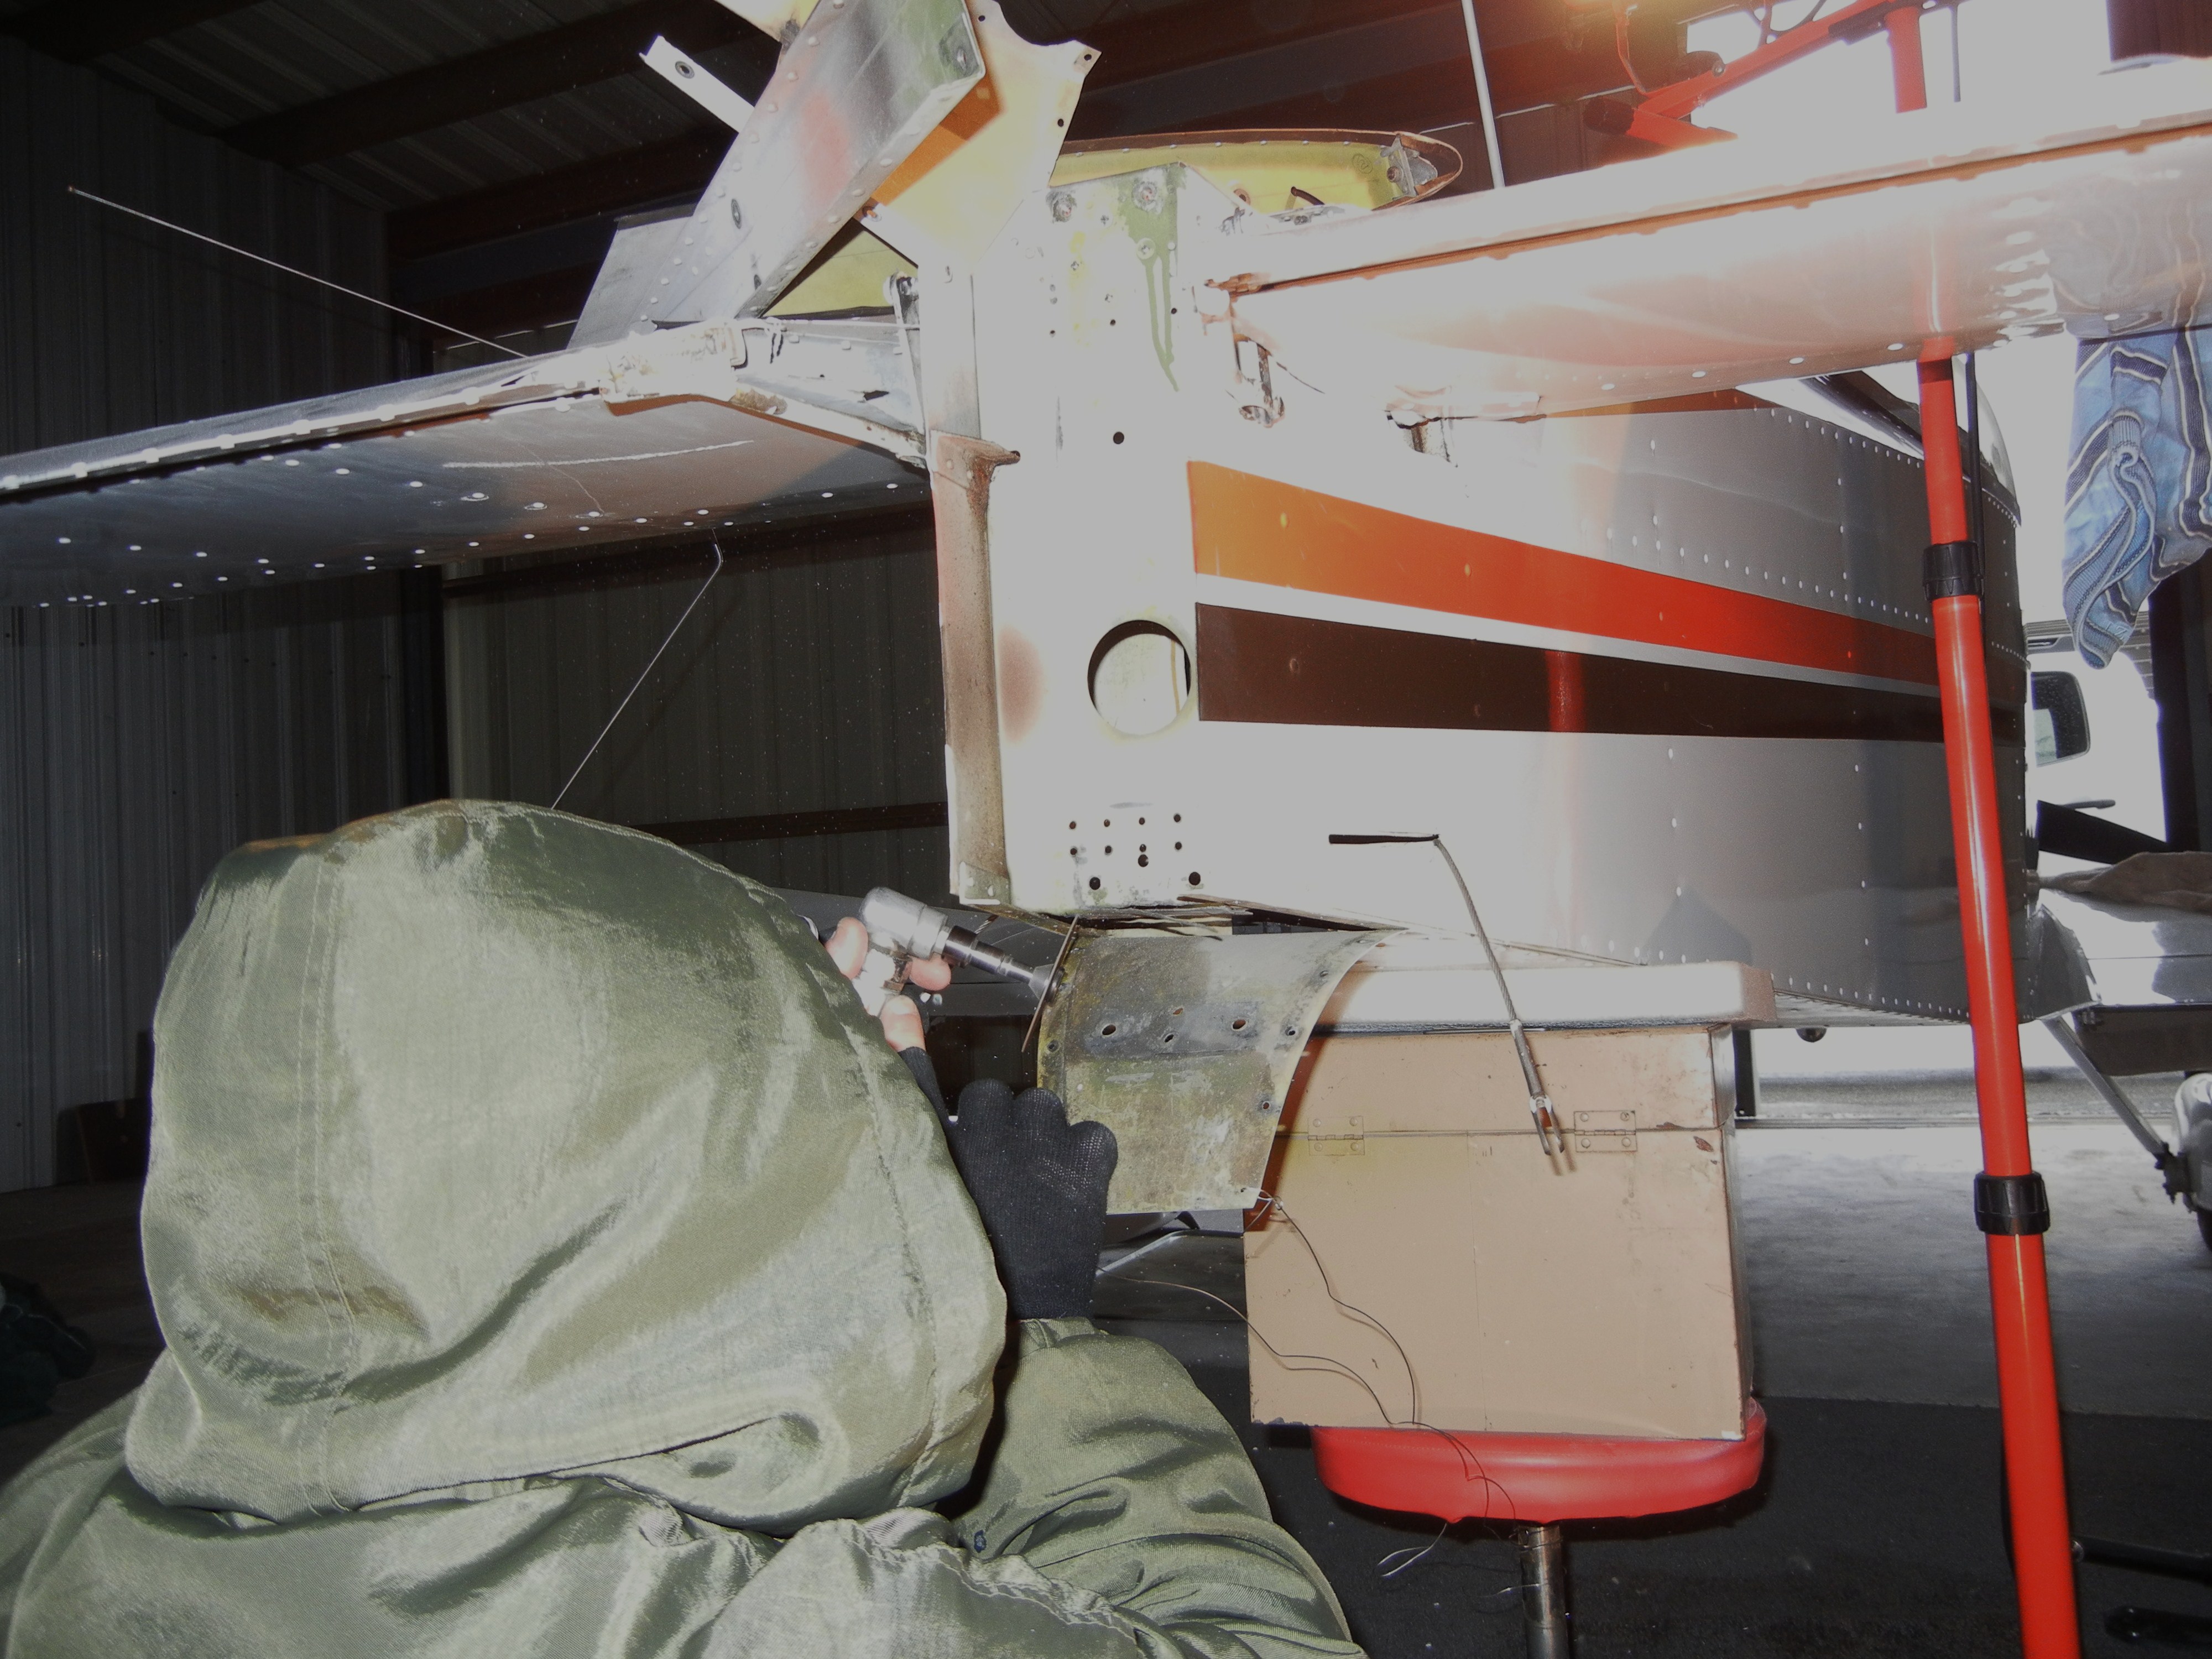
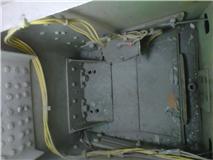
A few more pics of PDT's (Plane Dokter Todd, the hangar neighbor) werk - I was his gorgeous assistant. Fotos below

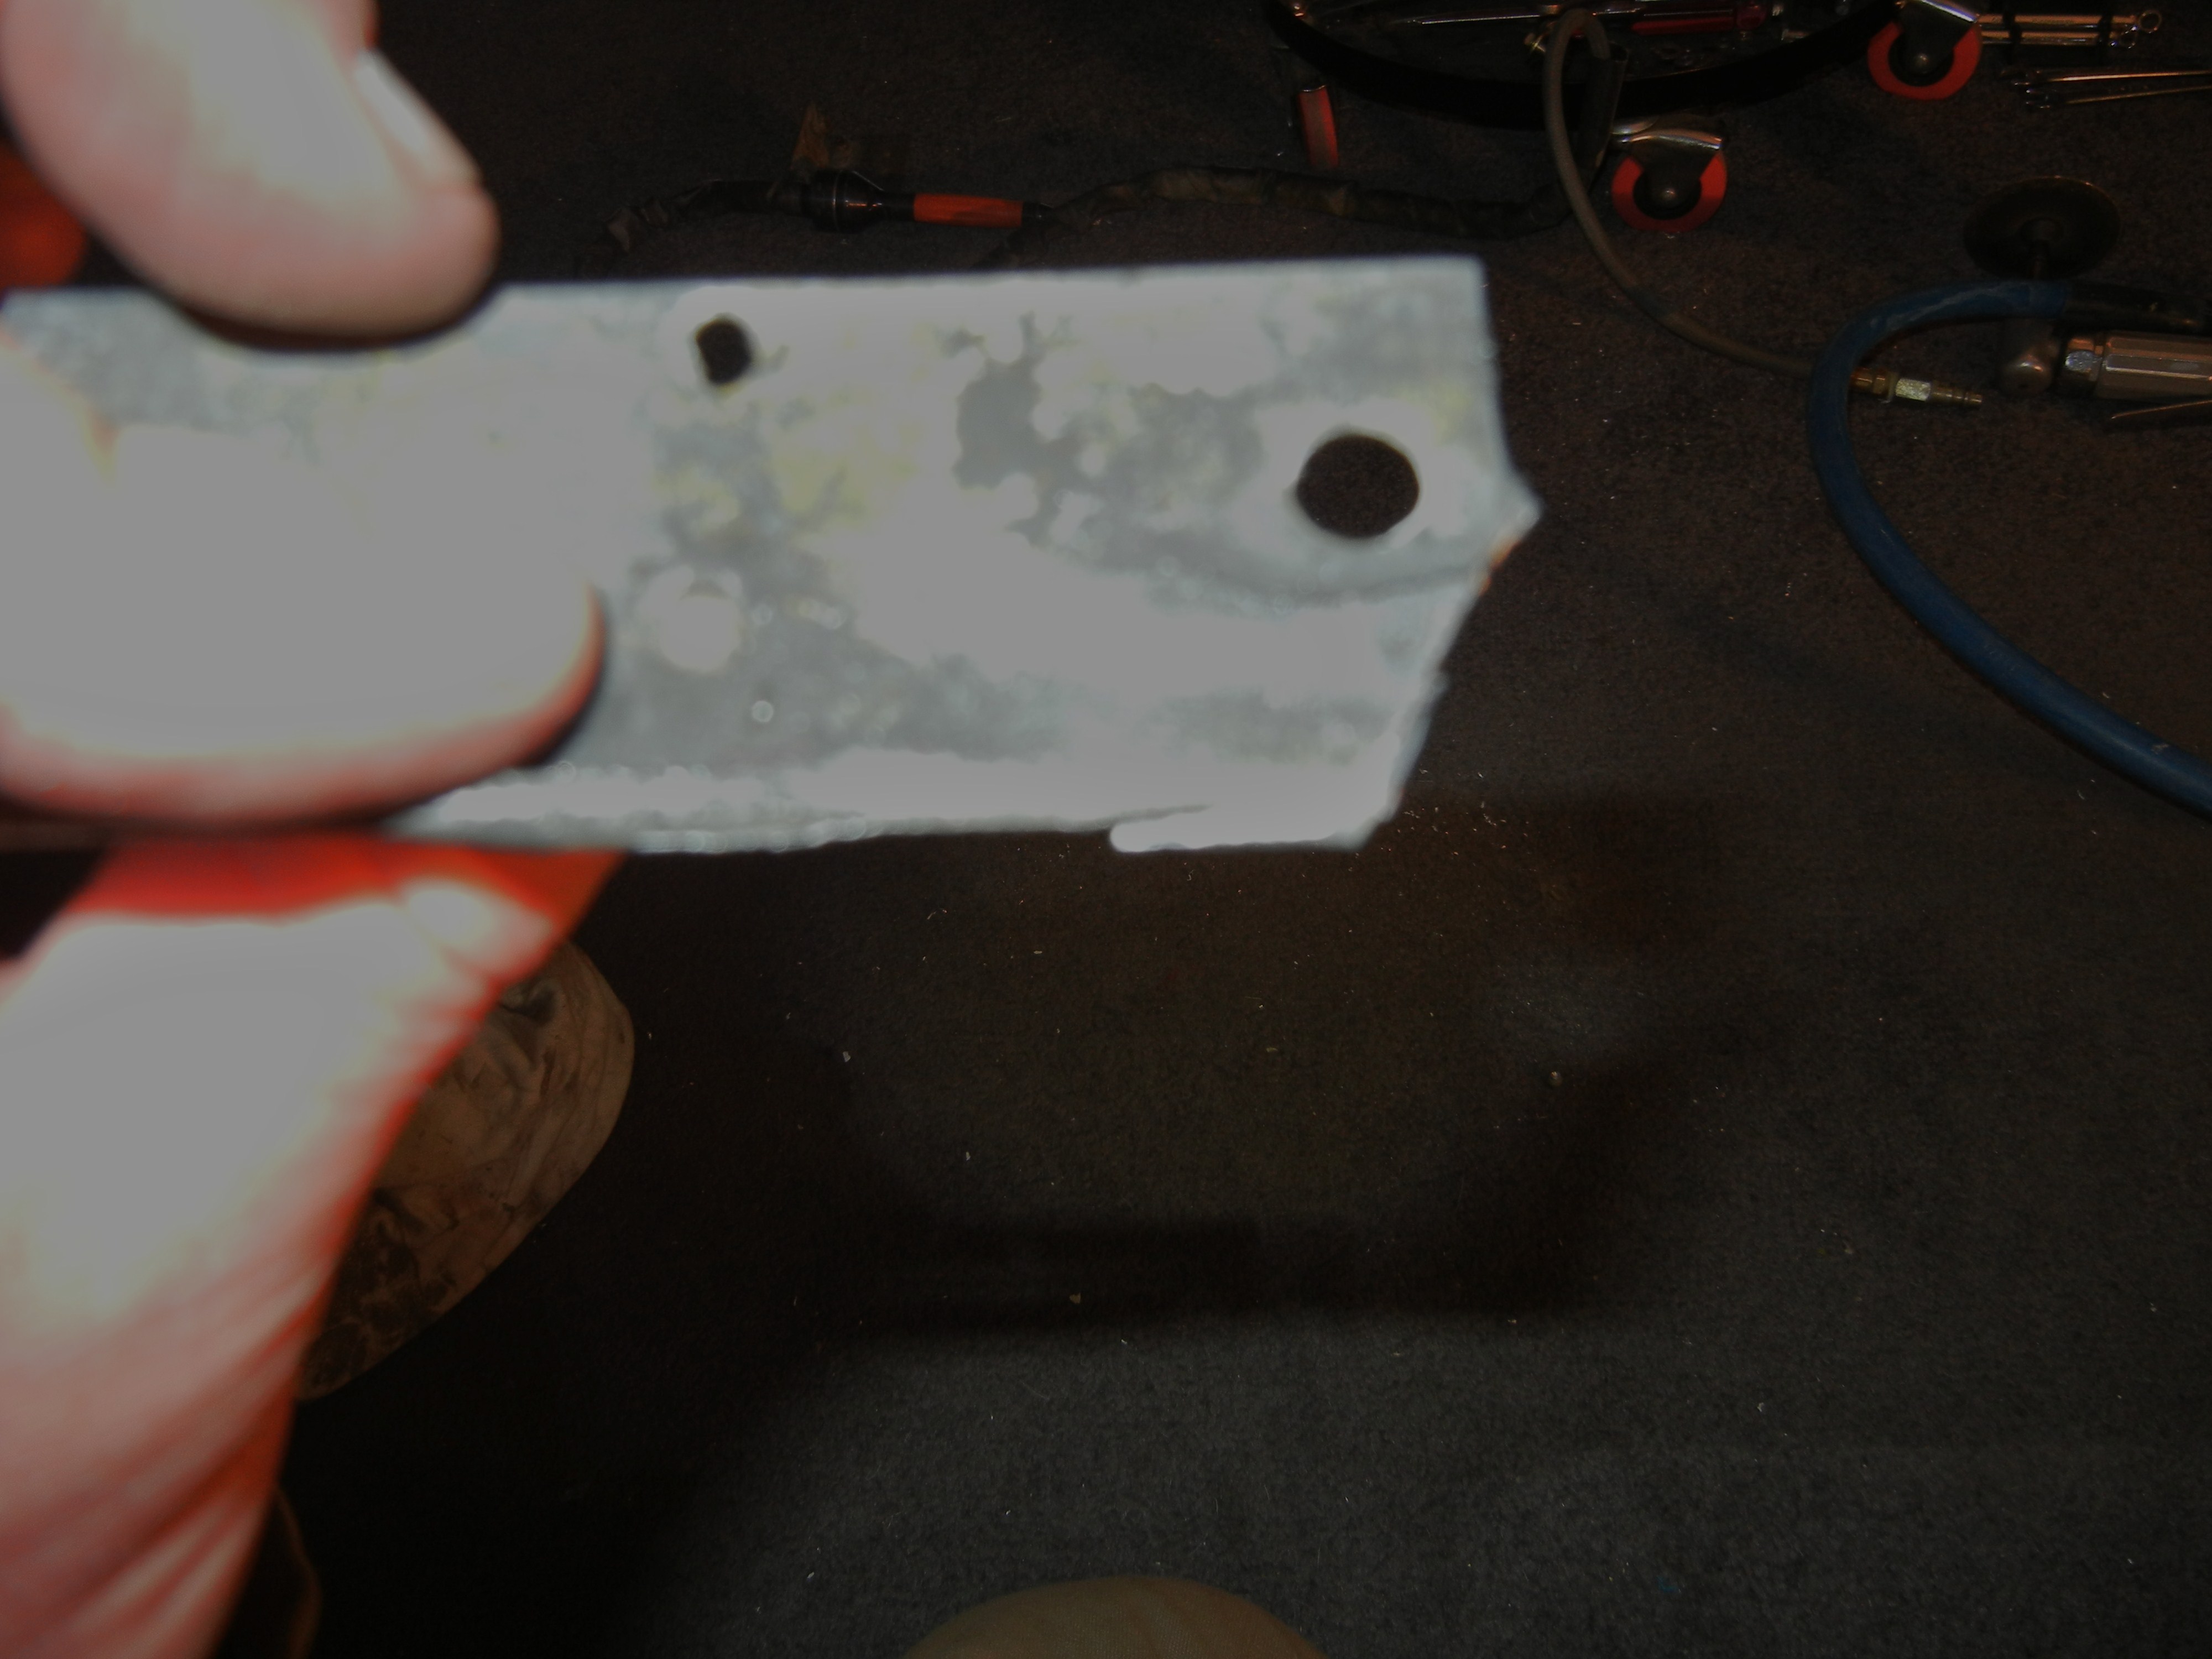
This is what was left of the original

Image Insert:
Image


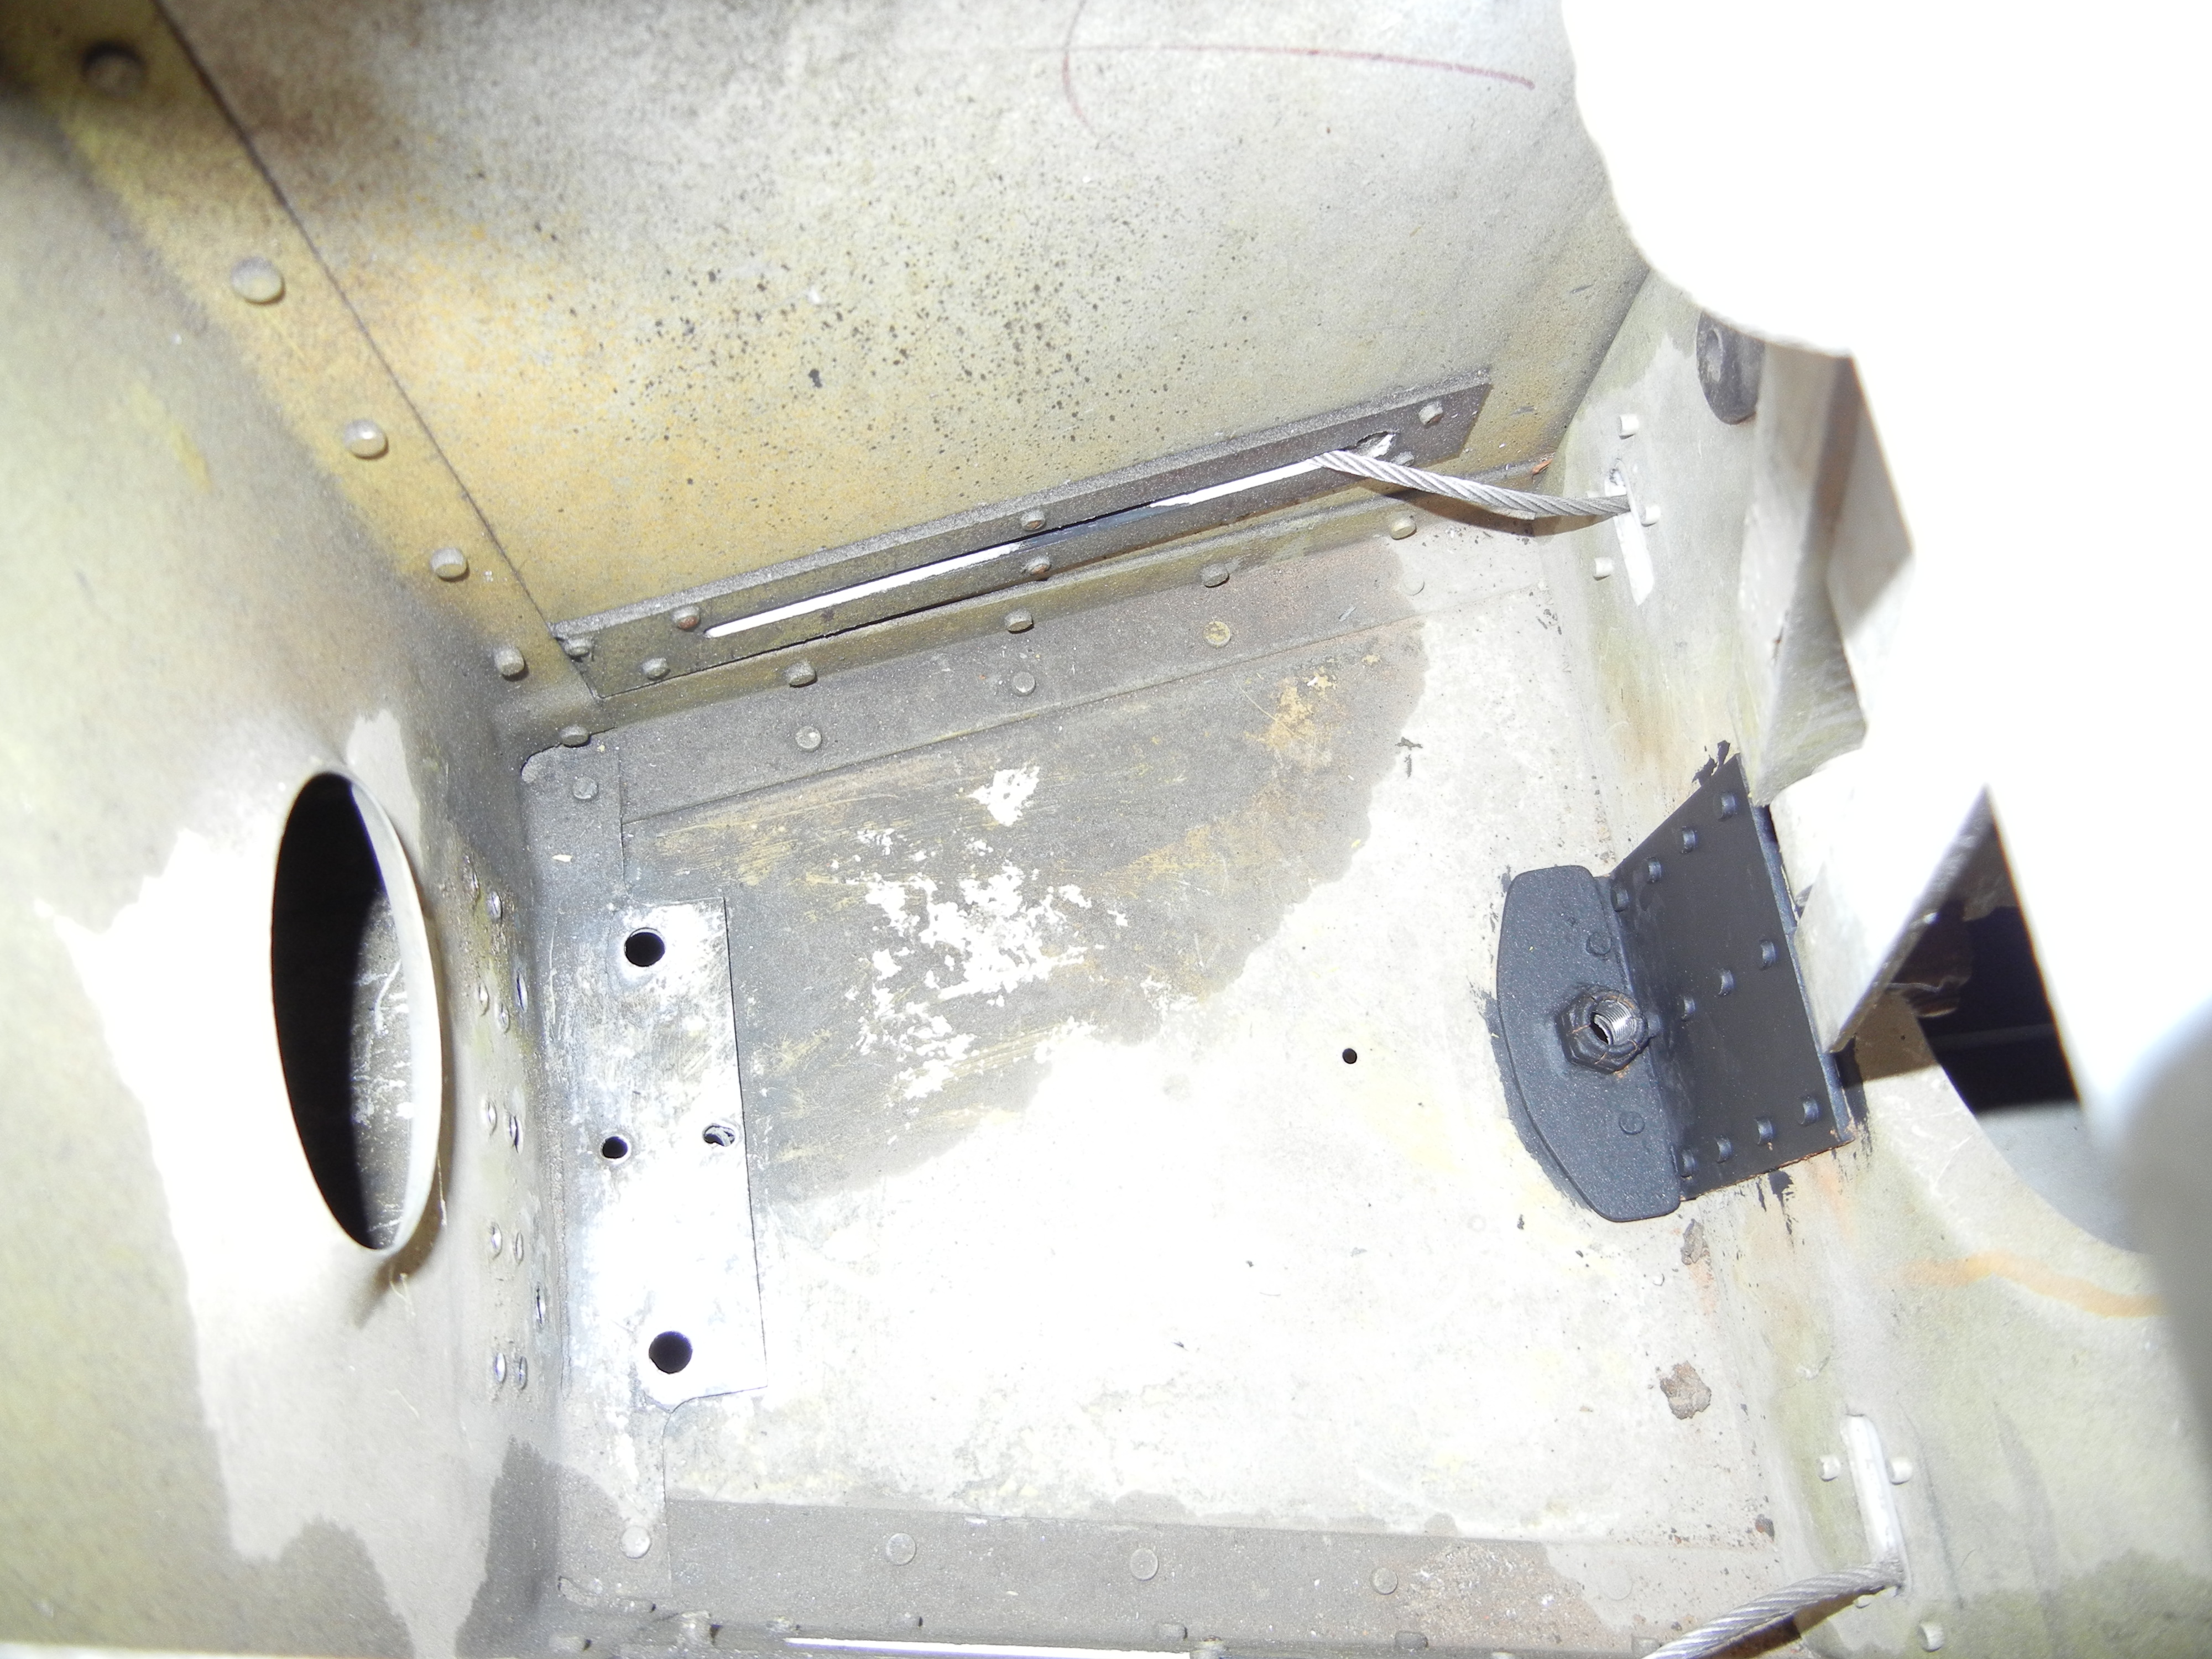
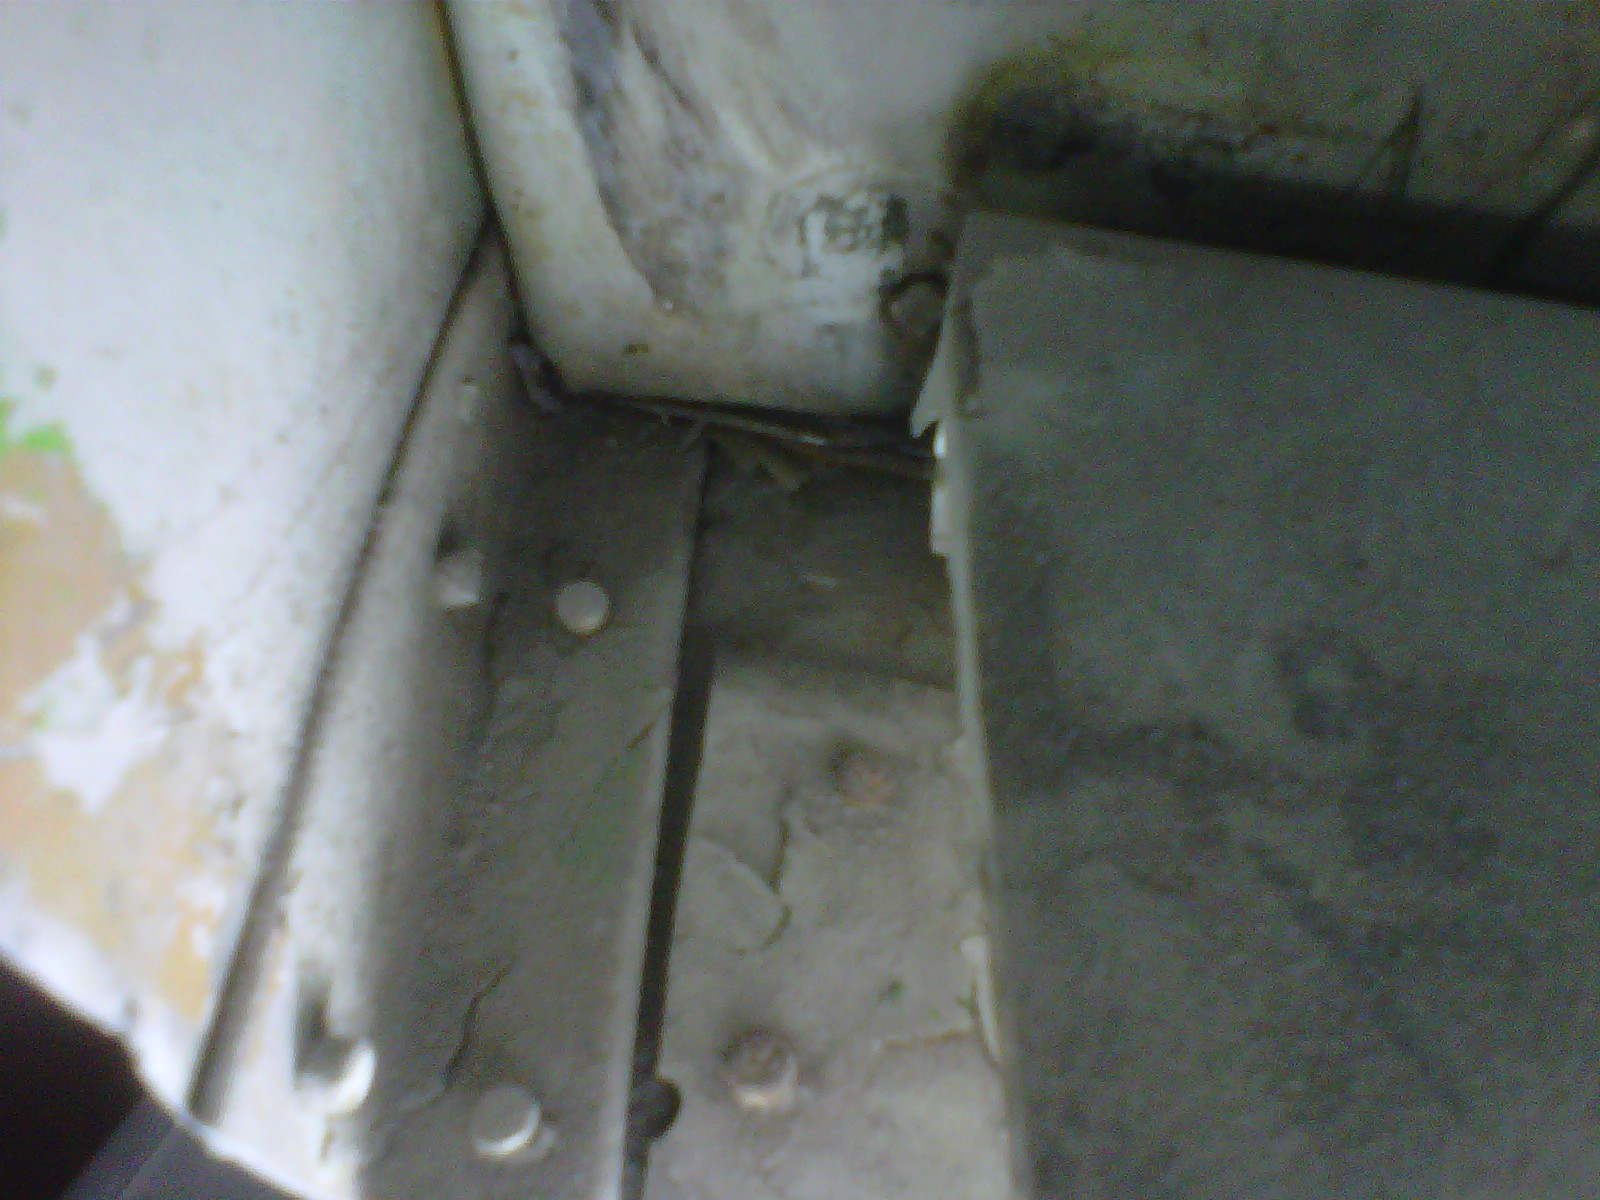
Bolted in position ready for riveting to the bulkhead and drilling out the longeron holes

Image Insert:
Image


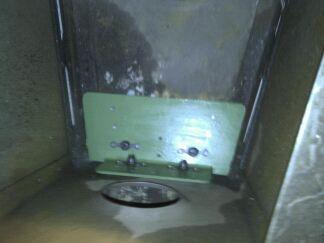
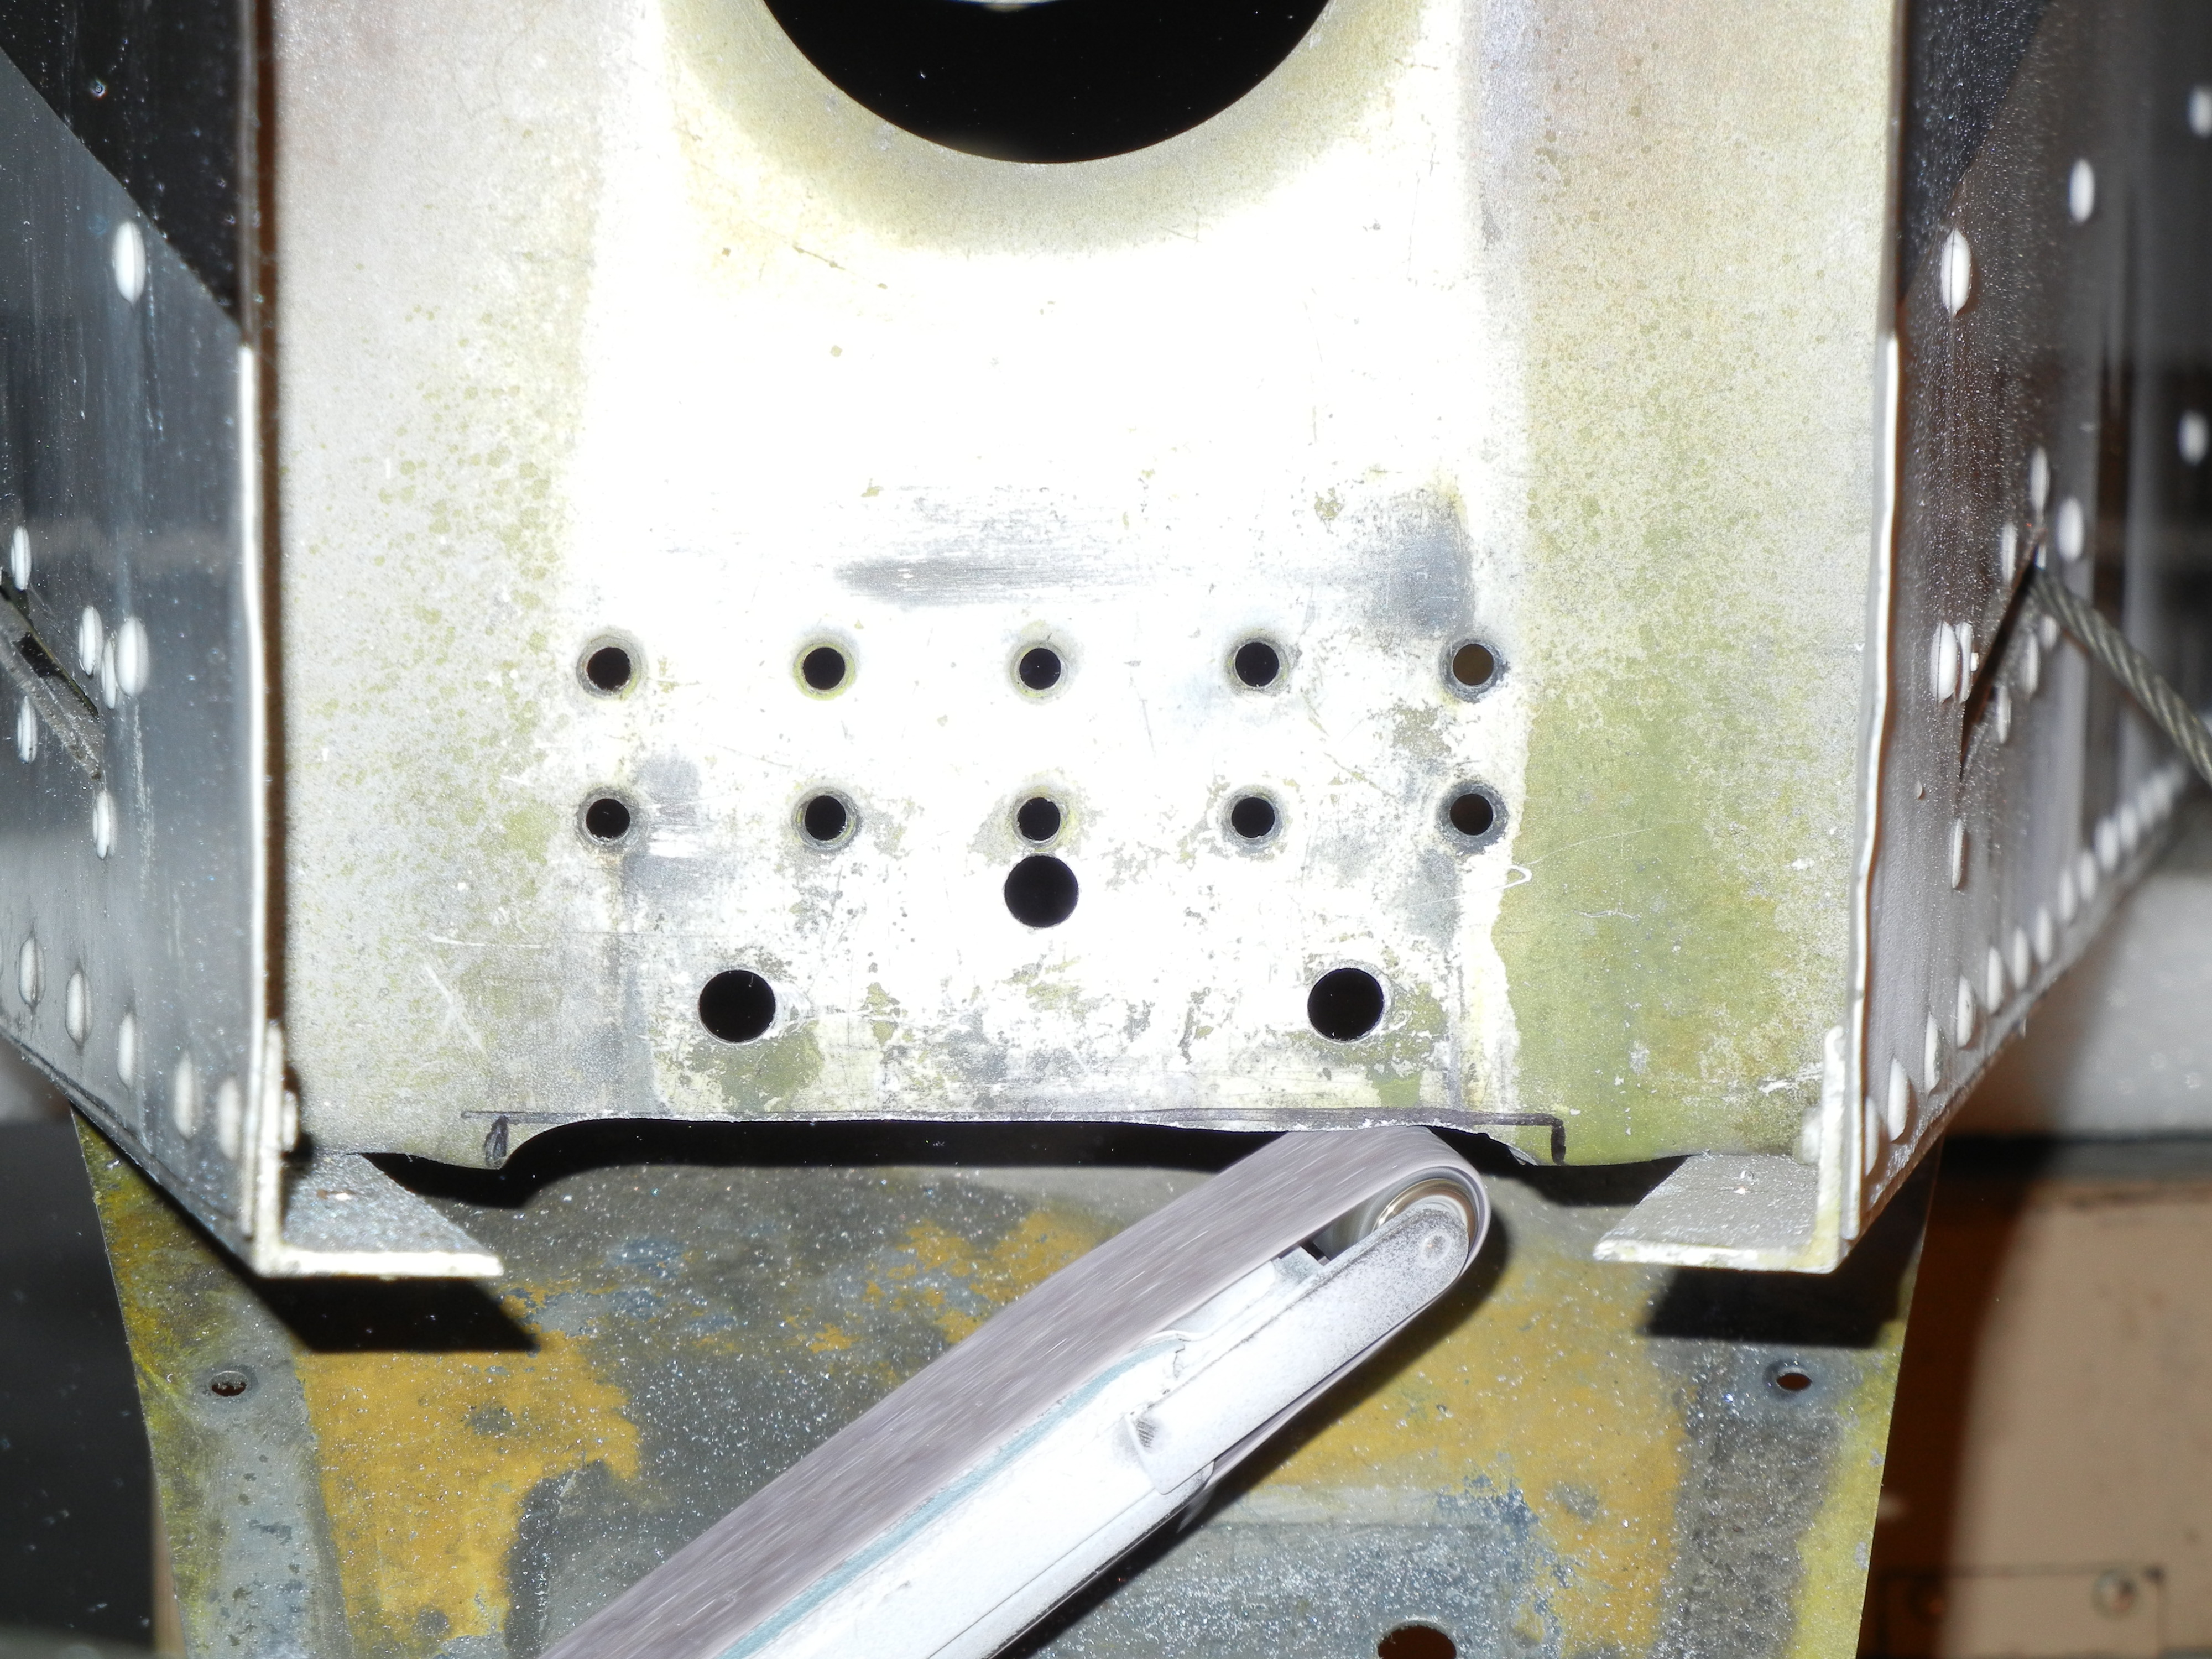
From the back - note the tabs under the bulkhead on the longerons - at first this concerned me, as the the bulkhead was flanged/tab'd to the longerons, but as I drew out the load paths, and with the thickness of the new piece, it made sense. Also note the spacer between the bracket and the bottom skin.

Image Insert:
Image


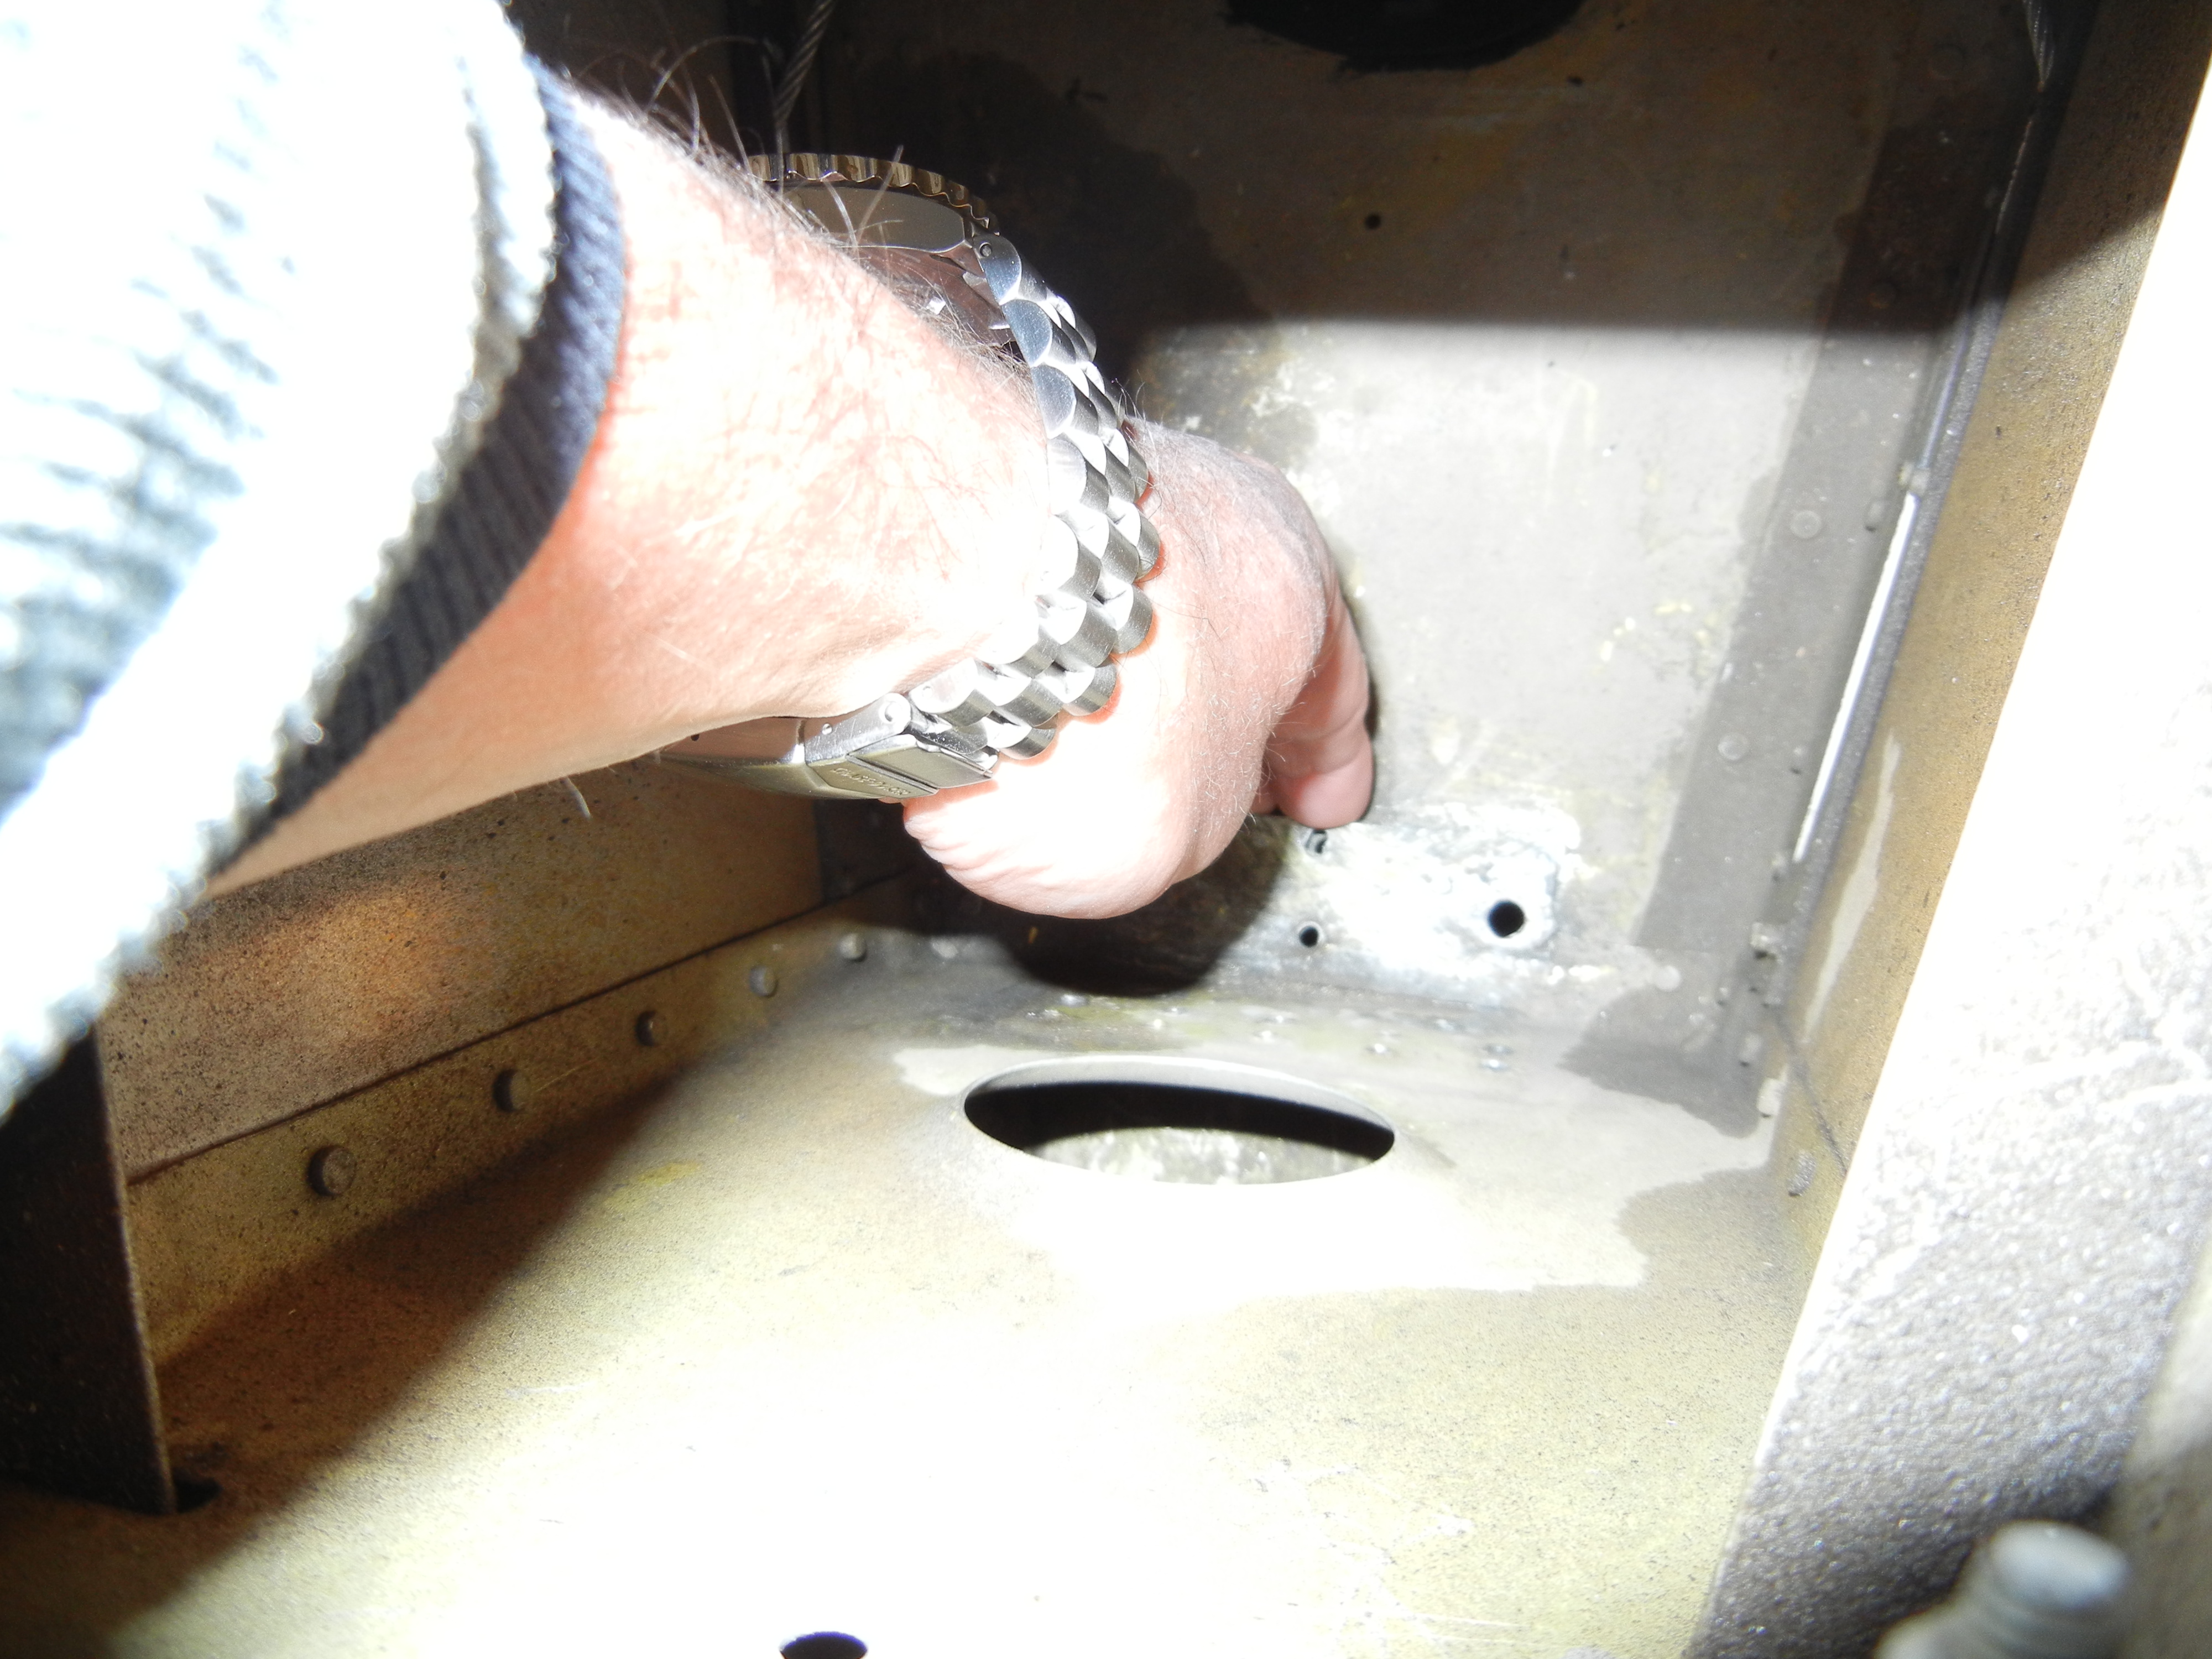
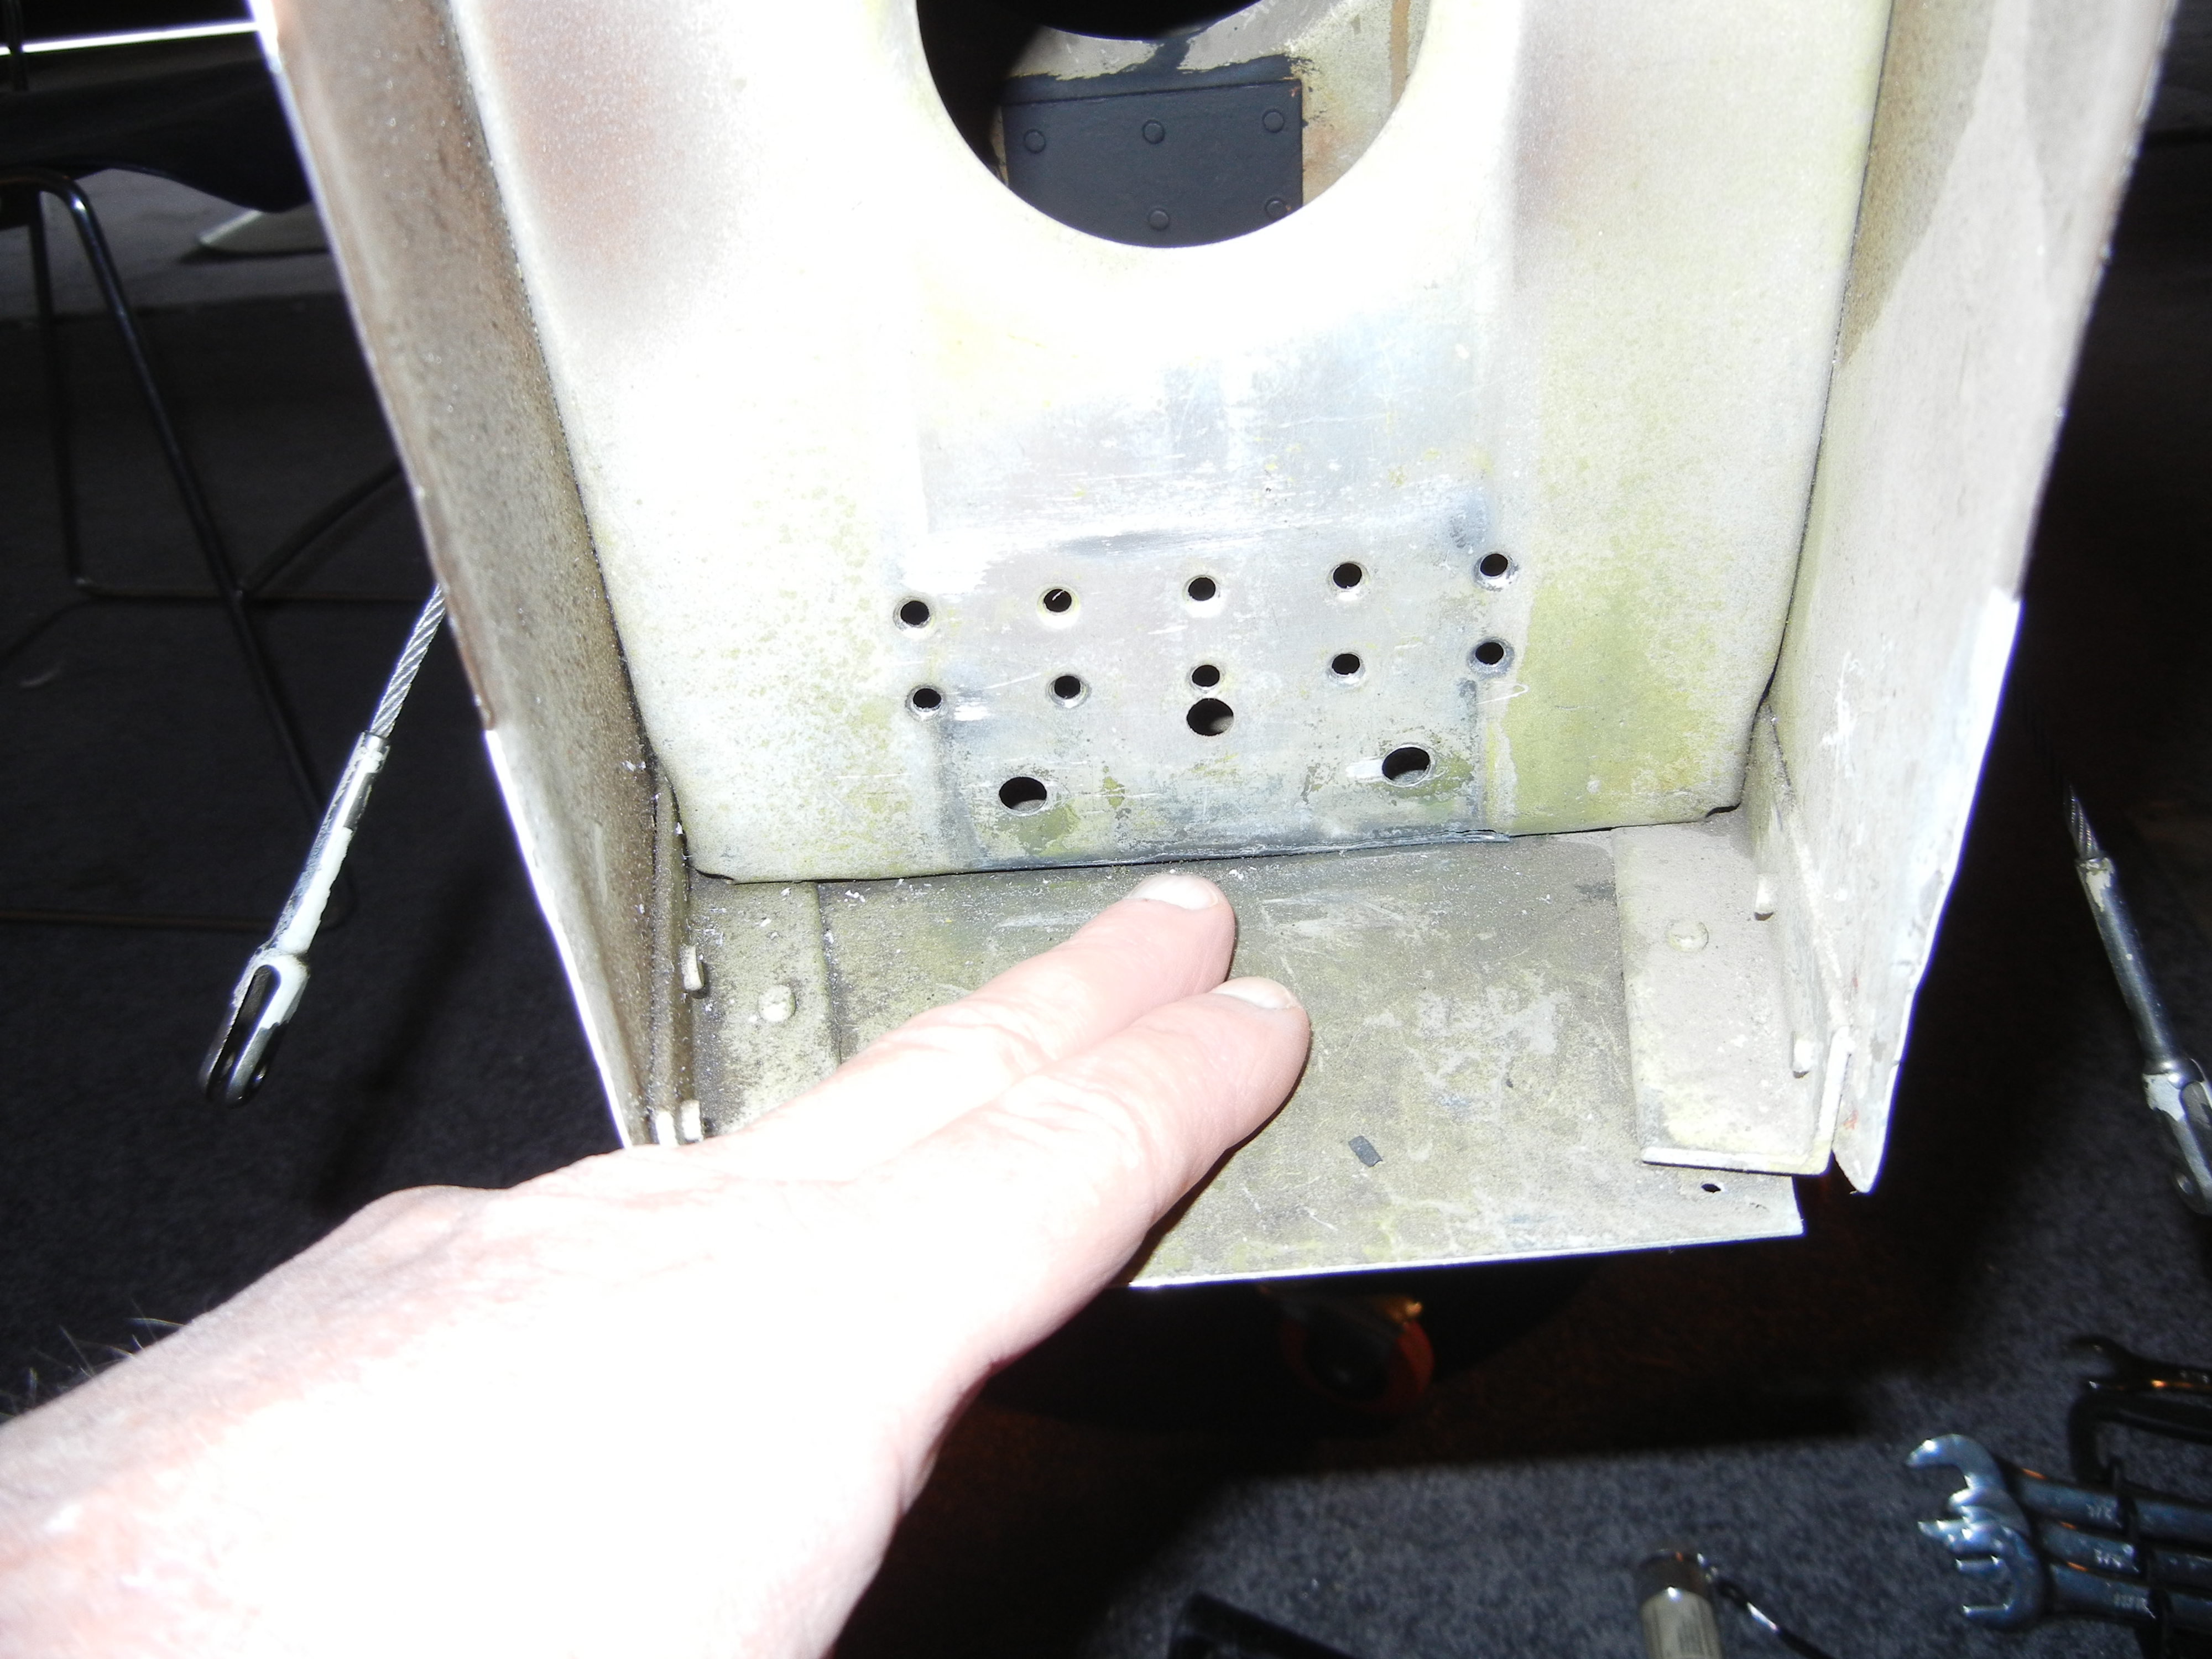
The bracket with the longeron holes drilled out and just prior to riveting in place - we mounted the tailwheel first and got everything lined up before drilling them. Some of you may think I'm nutz, but I elected to put 4 3/8s bolts, two per side through the longerons/plate connection. I thought it was a bit much to ask rivets to carry that thickness. I may be wrong, and it leaves four hex heads hanging in the wind, but that's my story and I'm sticking to it.

Image Insert:
Image

_________________
Fraser MacPhee
N926WM
Serial #279-1
Angel Fire, NM (KAXX)


Last edited by Fraser MacPhee on Sun Feb 20, 2011 10:59 pm, edited 1 time in total.

Top
 Profile Personal album  
 
Brent Schultz
 Post subject: Tail Wheel Surgery
PostPosted: Sun Feb 20, 2011 11:30 pm 
Full Member
Full Member

Joined: Fri Oct 23, 2009 12:23 am
Posts: 100
Images: 19
Location: USA
Just did this same fix on our 1978 Thorp about two months ago. The cracks to the back bulkhead and the steal plate are almost exactly the same as I saw on N6CM. I wonder how many other Thorps are flying around with this condition?

Brent Schultz
Corona, CA


Last edited by admin on Sun Feb 20, 2011 11:30 pm, edited 1 time in total.

Top
 Profile Personal album  
 
Bill Williams
 Post subject: Tail Wheel Surgery
PostPosted: Mon Feb 21, 2011 6:01 am 
Brent's correct, this is a common problem with the Thorp tailwheel and as Bob suggested should be part of the condition inspection.


Last edited by admin on Mon Feb 21, 2011 6:01 am, edited 1 time in total.

Top
  
 
chuck
 Post subject: Tail Wheel Surgery
PostPosted: Mon Feb 21, 2011 10:17 pm 
Sr. Member
Sr. Member
User avatar

Joined: Wed Oct 21, 2009 10:53 am
Posts: 169
Images: 19
Location: USA
Inspected mine since it's apart and sure enough it was also cracked and repaired somewhere in it's history. Here's a photo of the past repair.

Chuck

Image Insert:
Image

Put File Caption Here

Image Insert:
Image

Put File Caption Here

_________________
Chuck Kincer
Richmond, Me
575CK
KIWI


Last edited by admin on Mon Feb 21, 2011 10:17 pm, edited 1 time in total.

Top
 Profile Personal album  
 
Display posts from previous:  Sort by  
Post new topic Reply to topic  [ 8 posts ] 

All times are UTC - 6 hours [ DST ]


Who is online

Users browsing this forum: No registered users and 5 guests


You cannot post new topics in this forum
You cannot reply to topics in this forum
You cannot edit your posts in this forum
You cannot delete your posts in this forum
You cannot post attachments in this forum

Search for:
Jump to:  
cron

[ Time : 0.837s | 13 Queries | GZIP : On ]